Job Migration Procedure
- Create a backup job file in RasterLink6Plus/RasterLink7.
- Launch each software, then create a backup file for the job to be migrated.
For details of how to create backup files, refer to the Reference Guide for each software.
- Launch the migration tool.
- Double-click the migration tool shortcut
 on the desktop to launch the tool.

- The migration tool cannot be launched if RasterLink7 or the profile manager is running.
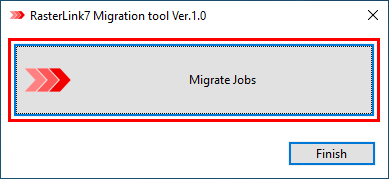
- Click [Migrate Jobs].
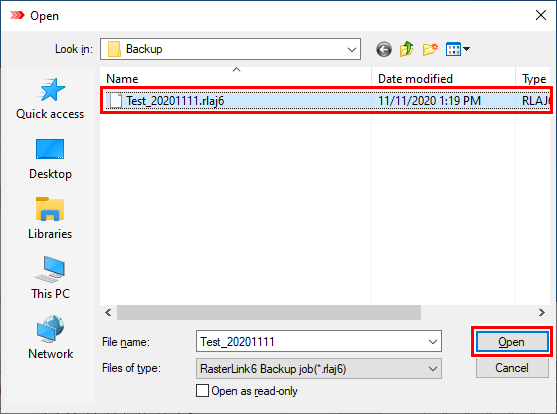
- The [Open] window appears.

- Select the job file backed up in Step 1.
- Only one file can be selected.

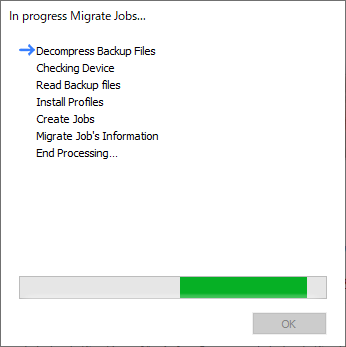
- Migration starts and the progress status window appears.

- Select the device to be migrated to.


- If you select a device cannot be migrated to, a dialog appears indicating the reason why.

- Migrate profiles using following operations depending on the migration conditions.
- Migrate to a device of the same model/ink set.
- If the same profile has not been installed at the destination, it will be installed automatically.
- If a preset with the same name has already been installed, a dialog appears confirming whether or not to install by overwriting.

Once each profile is selected, information will be displayed, check and click " Overwrite" if necessary for overwriting.
- Migrate to a device of the different model/ink set.
- The device profile should be changed. Select on the selection window displayed.


- About special purpose profiles
If a special purpose profile with the following conditions is set in the backup file, select a profile for the same application.
[Profile name] Clear base printing, primer base printing, clear gloss printing
[Profile type] Metallic color
- Migrate various file migrations after job creation by operating as follows depending on the migration conditions.
- Migrate to a device of the same model/ink set.
- Migrate all files set in the job.
When a RasterLink6Plus job is migrated, the following preset names will be migrated with "RL6_" prefixed to the original RasterLink6Plus names.
Color adjustment, Color matching, Device adjustment
- Migrate to a device of the different model/ink set.
- The following presets will not be migrated.
Color adjustment, device adjustment
- Color replacement information will be migrated, but check the tone of the colors after migration because the model/ink set is different.
- For flatbed printers, the following presets are migrated with the original board size.
Print area, Jig layout
For this reason, check the layout settings after migration when the board size is different between the two models.
- Click [OK] once migration is complete.
- The window closes.
- If you wish to migrate multiple jobs, repeat steps 1 to 4.
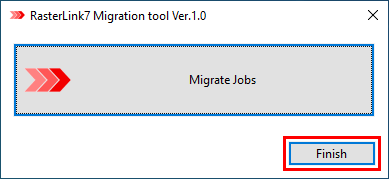
- Click [Finish].
- The window closes.

- Launch RasterLink7 and check that the jobs have been migrated.

- The registration date will be changed to the date of migration.
- Previous execution results information will not be migrated.
- The color of the preview image changes when migrating from RasterLink6Plus. The appearance of colors on the preview screen in RasterLink7 processes to match colors more closely to printed colors.

