Adding a Printer
If the printer does not appear in the list, add the printer by following the steps below.
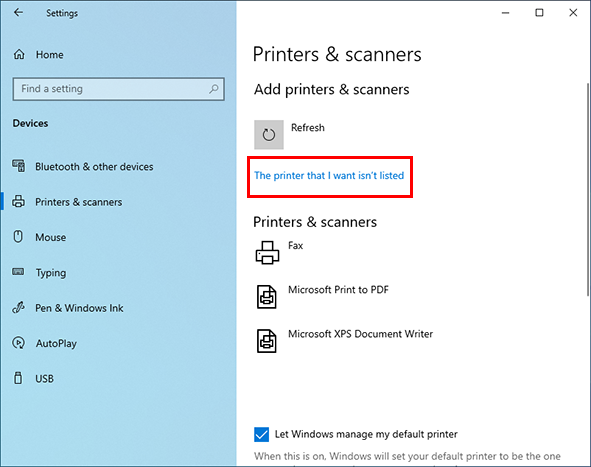
- Click [The printer that I want isn't listed].

- For Windows 11
Click [Add manually] to the right of [The printer that I want isn't listed].
- Select [Select a shared printer by name] and then click [Browse].

- Specify RasterLink PC.
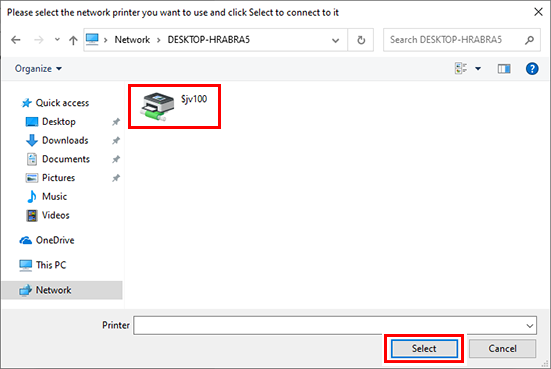
- The shared printer is displayed.
- Select [Shared printer] and then click [Select].
- "\\<RasterLink PC name>\<shared printer name>" is displayed in [Select a shared printer by name].

- Click [Next].
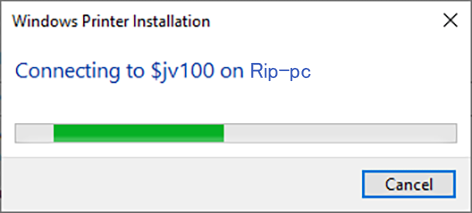
- The Windows printer installation is started.
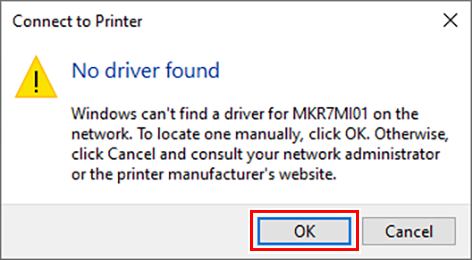
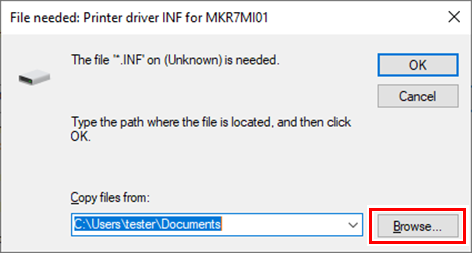
- If the client PC architecture is different from that of RasterLink PC, the following dialog box appears. Click [OK].
- Click [Browse].
- Select "mkr7mi01" in the RasterLink PC "ppd7" folder.
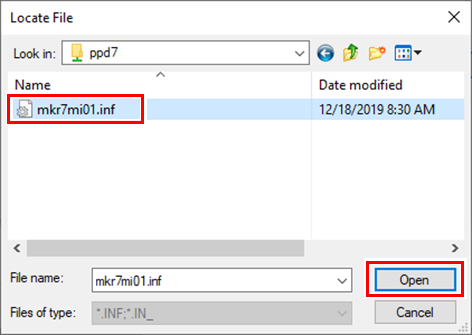
- Click [Open].
- The path appears in [Copy files from].
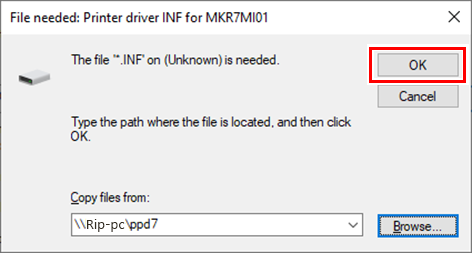
- Click [OK].
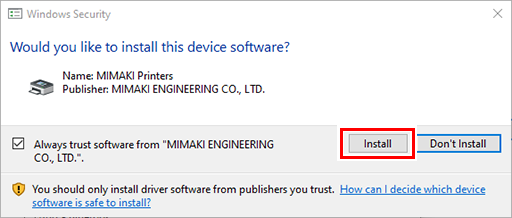
- Click [Install].
- Click [Next].
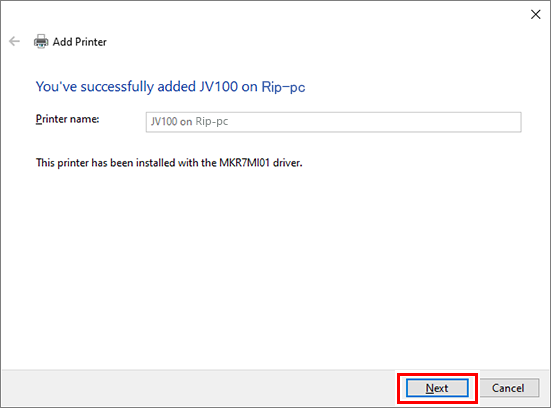
- Click [Finish].
- The printer is registered.
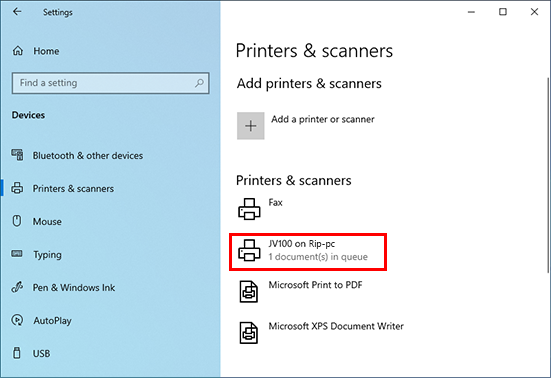
- Click the printer added in step 13.
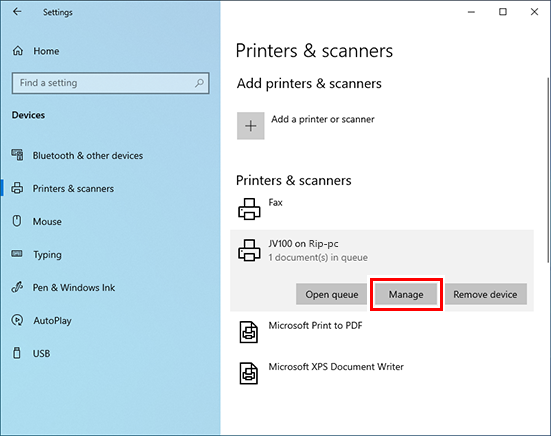
- Click [Manage].
- For Windows 11
Skip this step and go to the next step.
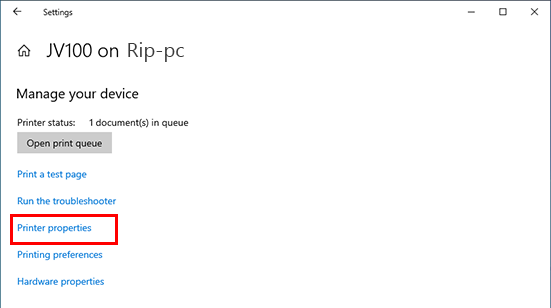
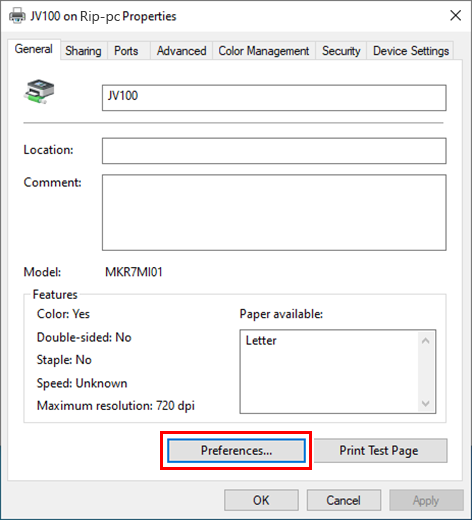
- Click [Printer properties].
- Click [Preferences].
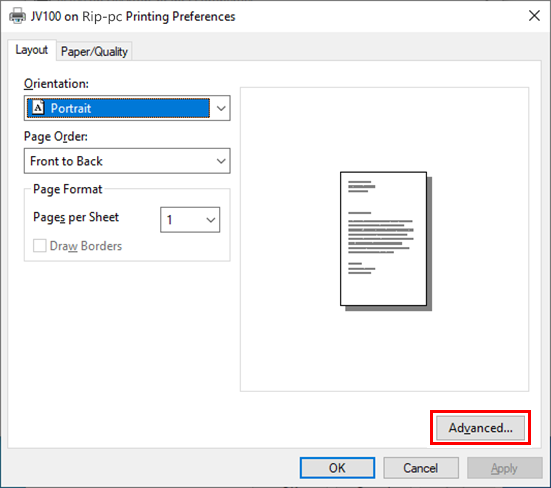
- Click [Advanced].
- For [TrueType Font], select [Download as Softfont].
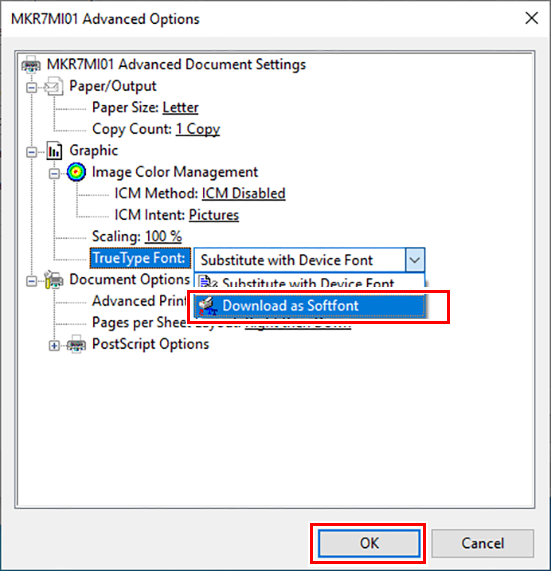
- Click [OK].