Composite - Operations
Select a composite job and set the output sequence
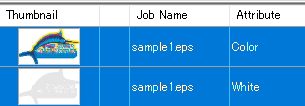
- Select the multiple jobs to be composed and printed in the [Job List] window.
- The selected jobs are displayed in the composite list on the [Composite] tab.
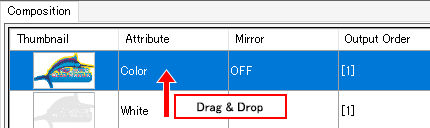
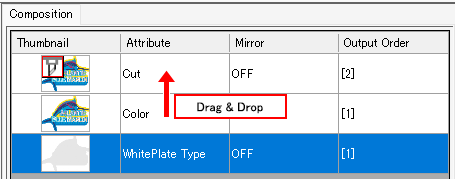
- The jobs displayed in the composite list on the [Composite] tab can be reordered by dragging and dropping.
- The jobs will be printed in sequence from the bottom of the composite list.
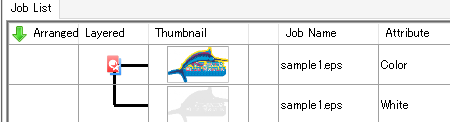
- Click [Composite] in [Composite]/[Release] on the [Composite] tab.
- The [Job List] is refreshed and the selected jobs are linked by lines.

- [Composite] must be clicked again if the job sequence in the composite list is altered after composition.
Select print & cut job and set the output sequence.
- Select the multiple jobs to be composed and printed in the [Job List] window.
- The selected jobs are displayed in the composite list on the [Composite] tab.
- The jobs displayed in the composite list on the [Composite] tab can be reordered by dragging and dropping.
- The jobs will be printed in sequence from the bottom of the composite list.

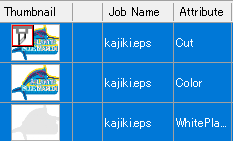
About the placement of cut jobs
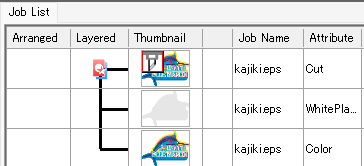
- Jobs with the cut attribute must be placed at the top or bottom of the composite list.
- Cut jobs are generally placed at the top, but on the following models, a cut job can be placed at the bottom to create a "Cut & Print (cut-then-print) job."
CJV150, CJV300, CJV300Plus, CJV330, CJV200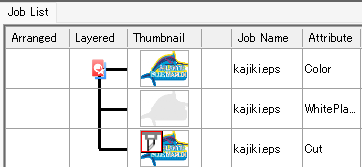
- Note, however, that setting registration mark detection for cut-and-print jobs will cause detection errors during cutting.
- Click [Composite] in [Composite]/[Release] on the [Composite] tab.
- The [Job List] is refreshed and the selected jobs are linked by lines.
- With roll-to-roll printers, the job will be printed in the order of the numbers indicated in the [Output Order] column. (With flatbed printers, printing will be in sequence from the bottom.)
Example: When the special color job (white) output sequence is 1 and the color job output sequence is 2
The color ink will be printed on top of the white.
- If the jobs differ in size, the bottom left of the largest job will be used as the datum for overlaying.

- If you are creating composite image data using design software, data should be created using one of the following two methods.
・ Align the vertical and horizontal size.
・ Adjust the position with the bottom left as the origin.
- When multiple jobs are combined, the settings for the job at the top of the [Job List] are applied to all of the jobs. The following settings will be applied.
・ [Scale]
・ [Rotation]
・ [Mirror]
・ [Print Condition]
- Do not composite print a job that is set to mono color printing and a job that is created from that. The printer does not print correctly.
Compose by reversing jobs
- Select a job to be reversed in the composite list.
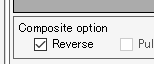
- Select the [Mirror] check box in [Composite option].
- The selected job is reversed.
- Difference between [Mirror] on the [General Print] screen and [Mirror] on the [Composite] screen
Setting [Mirror] on the [General Print] screen reverses all composite jobs.
Setting [Mirror] on the [Composite] screen reverses only the selected job(s).
Using [Mirror] on the [General Print] screen and on the [Composite] screen with the composite list below will have the following results.
Example 1: Setting [Mirror] as follows
・ Job with white attribute enabled on [Composite] screen
・ [General Print] screen: OFF
Only the special color job (white) is reversed.
Example 2: Setting [Mirror] as follows
・ Job with white attribute enabled on [Composite] screen
・ [General Print] screen: ON
Reversed version of Example 1, i.e. only the color job is reversed.
- In cases where the printed face is viewed from the opposite side, such as with transparent media, set [Mirror] on the [General Print] screen after composition.
- Click [Composite].
Set the priority policy (with flatbed printers)
- Set the [Priority policy] items in [Composite option] on the [Composite] tab.

- [Speed]
Reduces printing time by using the Special Color Over Print function. This is useful when completing the job quickly is more important.
- [Quality]
Quality takes precedence when jobs are printed individually. This is useful when an attractive finish is more important.
- Jobs are printed one at a time when [Quality] is selected. The printing speed and quality can therefore be adjusted by altering the resolution for each job individually. For example, a special color job (white) for which you wish speed to take priority can be set with low resolution, and a color job for which you wish quality to take priority can be set with high resolution before combining.
For more information, refer to Print Condition.
- Click [Composite].
Overlay print by pulling back the media (with CJV300, CJV150, CJV300 Plus, UCJV300, UCJV330, and UJV100 Plus)
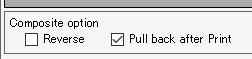
- Select the [Pull back after Print] check box in [Composite option] on the [Composite] window.
- Pulls back the media to the origin position after jobs selected from the composite list have been printed simultaneously, then prints the remaining job(s).
- This is useful when you wish to print colors after allowing a special color to dry thoroughly, such as when color jobs are combined with special color jobs.
- The media is always pulled back between printing and cutting in the case of print & cut jobs.
The [Pull back after Print] check box cannot be unselected.
- Click [Composite].
Auto deskew (compatible model: UJV100Plus)
Auto deskew correction is available when the [Retract after Print] check box is selected.
With the [Auto deskew] check box selected, after media is pulled back, image data skew is automatically detected and corrected before printing.
Skew detection register marks are automatically added to the first image data to print.
- Example: With Auto deskew activated when printing special colors before regular colors
- Jobs are printed with register marks added to the special color layer.

- Media is pulled back, the marks are detected, and the skew is calculated.

- After special color printing is finished, the skew angle is applied when ripping the regular color layer.

- The color layer is printed.
Print overlapping plates with the same job attributes (with flatbed printers)
- Select the bottom job of those with the same attributes, then select the [Pull back after Print] check box in [Composite option] on the [Composite] window.
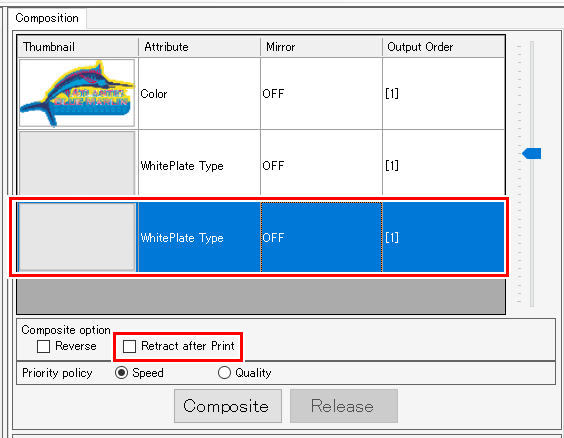
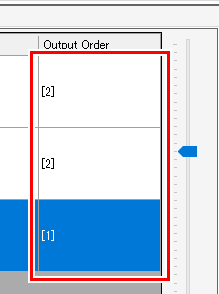
- The output order will be changed.
- A white plate can be overlay printed using a separate feed.
- This is available when [Speed] has been selected for the Priority policy.
- Click [Composite].
Canceling composition
- Select the job(s) for which composition is to be canceled in the [Job List].
- Click [Composite] in the [Function] menu or the Composite function icon (
 ).
).
- Click [Release] on the [Composite] tab.
- The composition containing the selected jobs is canceled.