Setup Work Folder - Operations
Change the work folder location to a different disk
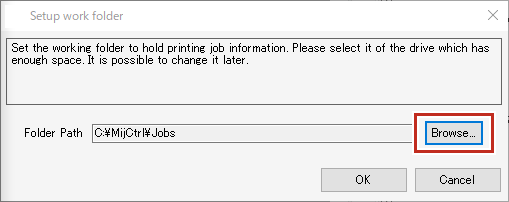
- Select [Environments] - [Setup work folder] from the menu.
- The [Setup work folder] dialog appears.
- Click [Browse...] on the [Setup work folder] dialog.
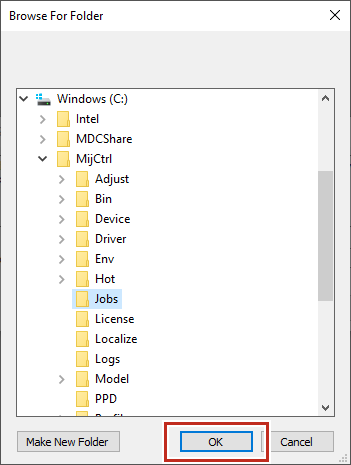
- The folder browse dialog appears.
- Select the work folder to be used, then click [OK].
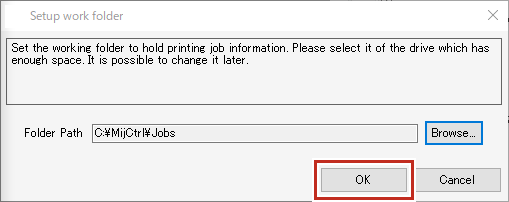
- Click [OK] on the [Setup work folder] dialog.

- Select a folder within a disk that has sufficient free space.
- The following folders cannot be selected as work folders.
・ The disk root folder
・ The RasterLink7 installation folder
- The RasterLink7 exit confirmation dialog appears once the work folder has been changed. Click [OK].
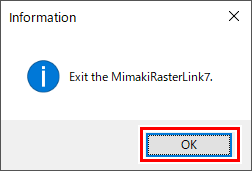
- RasterLink7 cannot be operated until the work folder changes are complete.
- RasterLink7 shuts down automatically.
- The new work folder can be used once RasterLink7 has been restarted.