Printer registration procedure
No printer is registered right after RasterLink6Plus is installed. You can use the [Printer Management] function to register the printers you use.

- Before registering any printer, select [Control Panel] - [System and Security] - [Administrative Tools] - [Service] in Windows and enable [Windows Firewall] (which means the firewall is running). If [Windows Firewall] is set to disabled, you cannot register any printers.
- Turn on the printer you use, and check that the RasterLinkPC is connected with the printer through a USB 2.0 cable or a LAN cable.
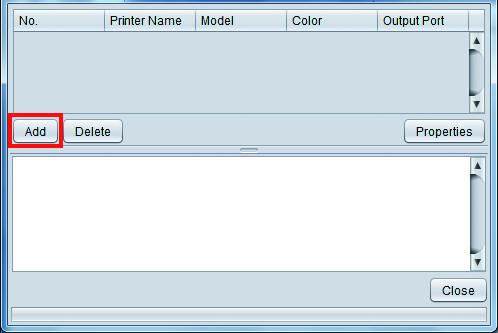
- In the [Printer Management] screen that appears when you start RasterLink6Plus, if no printer is registered, click [Add].
- Configure the settings in the order specified in the following figure and table, according to the printer to be connected:
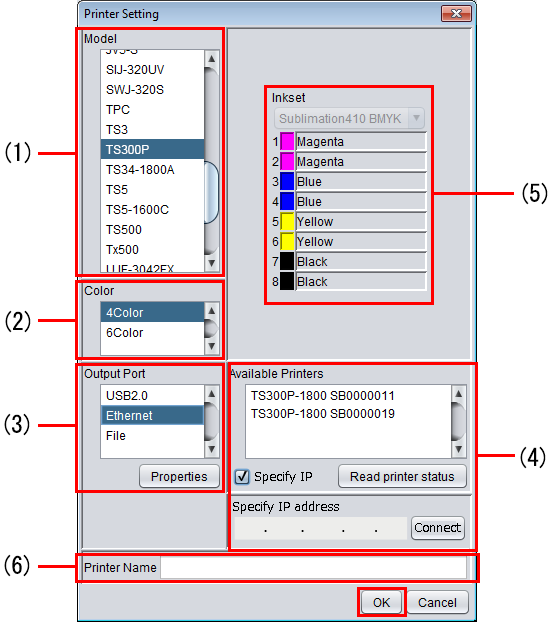
(1) | Model | Select the printer you want to register.
|
(2) | Color | Specify the number of colors available in the printer. If the printer has only one color setting, the list shows nothing. The available color settings are listed below. Depending on the printers, some color settings that are not listed below are displayed. Consult the instruction manual of the printer and check the settings when the printer is installed, and then select the setting.
|
(3) | Output Port | If the PC is connected with the printer through a USB2.0 cable, then select [USB2.0]. If it is connected through a LAN cable, then select [Ethernet]. |
(4) | Available Printers | A list of printers that are connected to the PC (as serial numbers of the printers or [MACHINE NAME] values specified in the panel) is displayed. Select the printer you want to register. If the connected printer is not displayed, click [Read printer status]. If it is not still visible, check the following:
|
(5) | Ink set | The information is retrieved automatically from the printer and the ink sets are selected. |
(6) | Printer Name | The name is used as a printer tab name in the main window. Enter identifiable names if several printers are to be registered. This name is also used for the names of the hot folder and printer driver. |
- Click [OK].
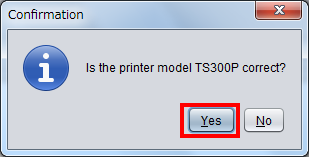
- If the device profile that supports the selected printer, color, and ink set is not installed, the printer cannot be registered. Install the device profile.
Profile installation
- Click [Yes].
- The [Do you create the hot folder and printer driver?] message appears. If you want to create a hot folder and printer driver that support the registered printer, click [Yes].
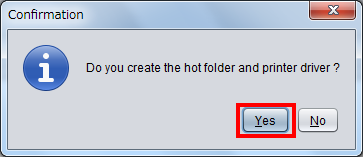
- If you have no particular reason, then click [Yes] to create the hot folder and the printer driver. (Even if you click [No] here, you can create the hot folder and the printer driver later.)
- For details about the hot folder and the printer driver, refer to the accompanying "RasterLink6Plus Reference Guide" and "RasterLink6Plus Network Connection Guide" in the manual CD or at our official website.
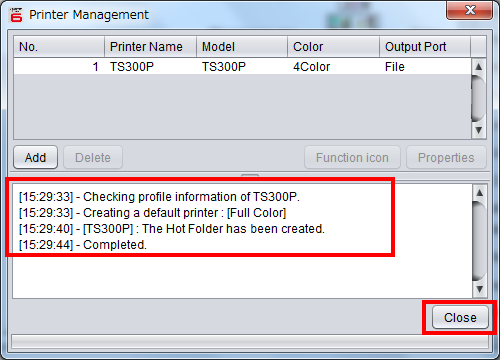
- When you finish the process to add the printer, the [Completed.] message appears in the information display area. Click [Close].
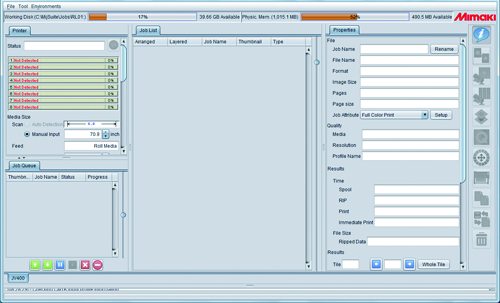
- The RasterLink6Plus main window appears.