Workgroup Settings (Same for Windows 7, 8.1, 10, and 11)
Specify settings so that the client PC can join the workgroup specified by the RasterLink PC.
If joining a domain network, consult with network administrators regarding the network being used.
An example with "WORKGROUP" specified as the workgroup name is used for explaining the settings.
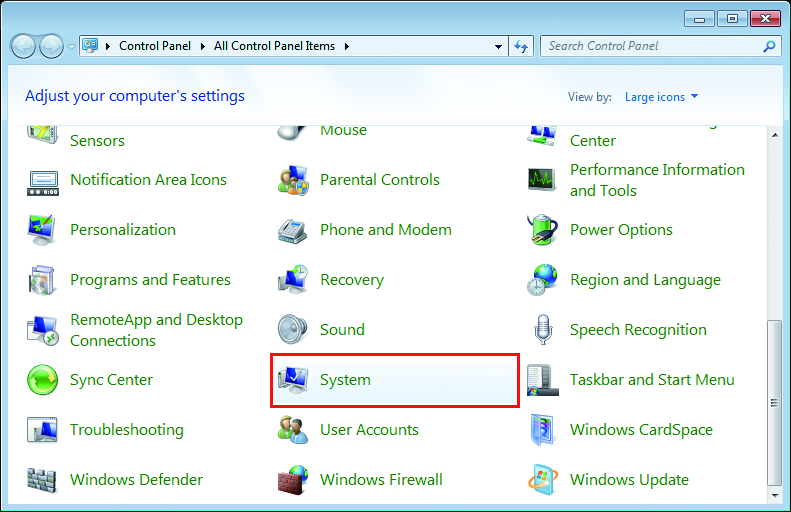
- In [Control Panel], click or double-click [System].
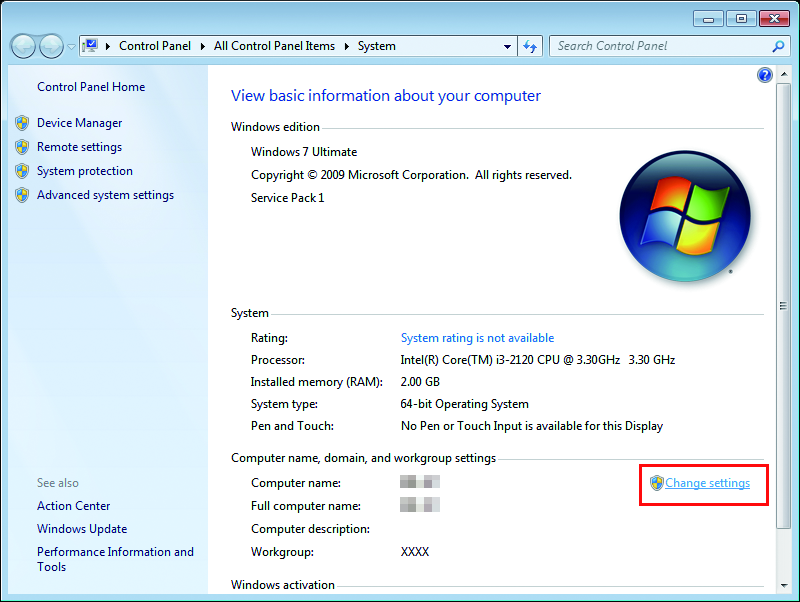
- Click [Change settings].

- For Windows 10
In the left pane, click [About], then click [System info] or [Rename this PC] in the right pane. - For Windows 11
Click [Domain or workgroup] in the right pane.
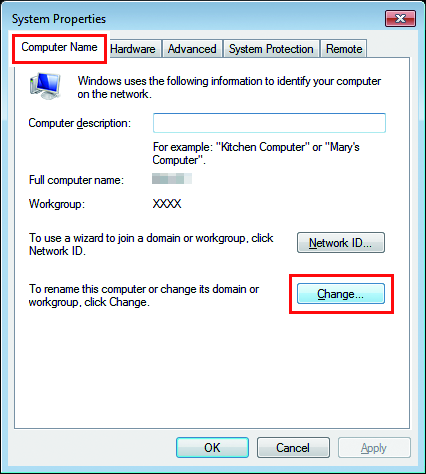
- Select the [Computer Name] tab, and then click [Change].
- Change to [WORKGROUP], and then click [OK].

- Input the same name as the workgroup name set by the RasterLink PC.
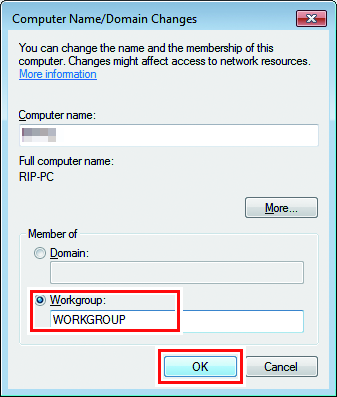
- Click [OK].
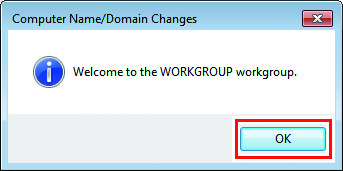
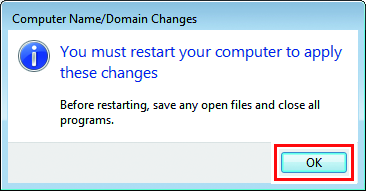
- When the confirmation screen is displayed, click [OK].
- Do not restart the computer yet.
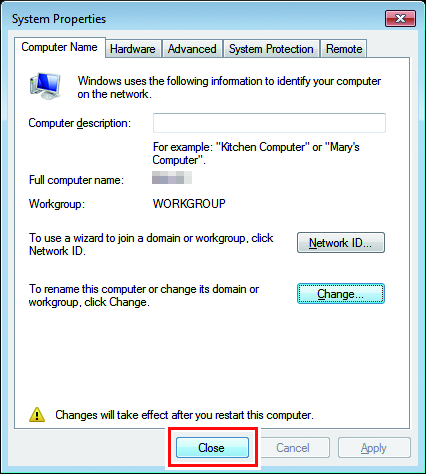
- In the [System Properties] screen, click [Close].
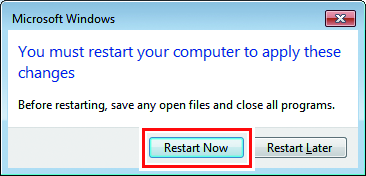
- Click [Restart Now].
- The PC is restarted.