If a registered printer is not recognized in the output printer settings dialog box

If a RasterLink7 registered printer cannot be found in the output printer settings, check the following items.
Step 1: Confirm that RasterLink7 and the related software are installed.
Confirm that RasterLink7 and the related software are installed.
You can check the installation status by going to [Settings] - [Apps] - [App & features] on your Windows PC.
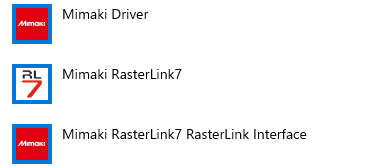
No. | Software | Version |
|---|---|---|
1 | Mimaki Driver | Ver. 5.9.16 or later |
2 | RasterLink7 | Ver. 3.3.3 or later |
3 | RasterLink Interface | Ver. 1.0 or later |
If any piece of software is not installed, install it.

- If you are using the UJV300DTF printer, refer to the "Simple Create UJV300DTF-75 Printing Guide".
Step 2: Check if RasterLink7 is running.
If RasterLink7 is not running, start it up.
Step 3: Confirm that the subnets of the IP addresses are the same.
Confirm that the subnets for the IP addresses of the PC on which RasterLink7 is installed and the Windows PC/Mac PC or smartphone/tablet on which Simple Create is installed are the same.
The settings can be confirmed and changed in each OS at the following locations:
- Windows: [Settings] - [Network & Internet]
- Mac PC: [System Settings] - [Network]
- iOS: [Settings] - [Wi-Fi]
- Android: [Settings] - [Network & Internet]
Step 4: Confirm and change firewall settings.
If RasterLink7 and Simple Create cannot communicate properly, the PC on which RasterLink7 is installed may have a firewall setting that is blocking communication.
The following describes how to confirm and change the firewall settings.
- In the search box located next to the Start menu on the taskbar, type "Control Panel" and select [Control Panel] from the list of results.

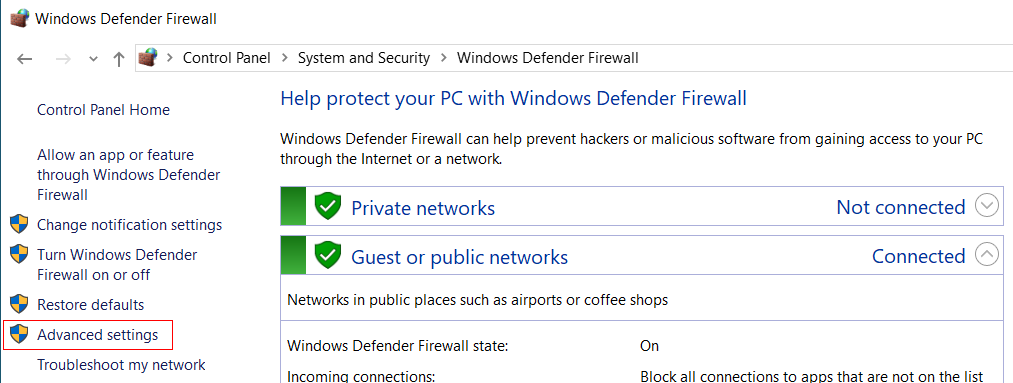
- Select [System and Security] - [Windows Defender Firewall].

- In the menu on the left, click [Advanced settings].
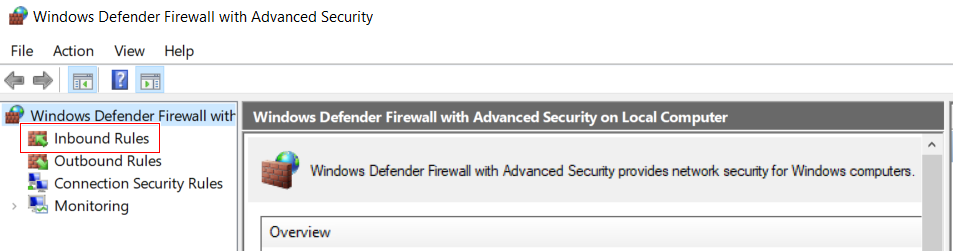
- In the [Windows Defender Firewall with Advanced Security on Local Computer] dialog box, click [Inbound Rules].
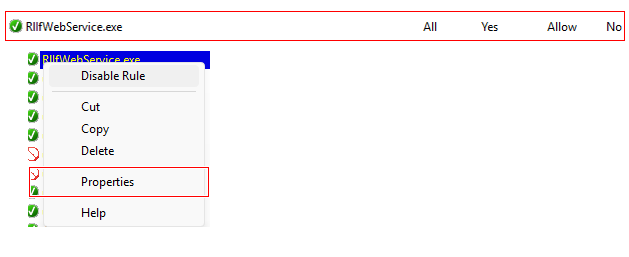
- Search for the settings for RLIfWebService.exe. Right-click and then click [Properties].
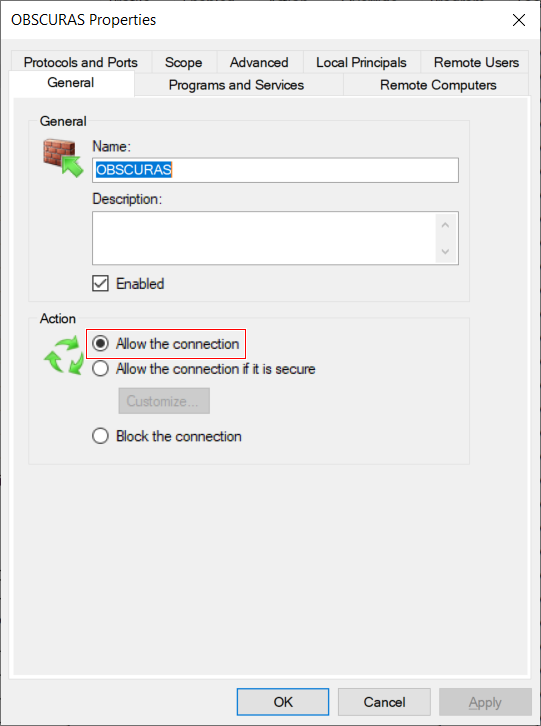
- On the [General] tab, under [Action], select [Allow the connection].
- On the [Advanced] tab, under [Profiles], select [Domain], [Private], and [Public] and then click [OK].
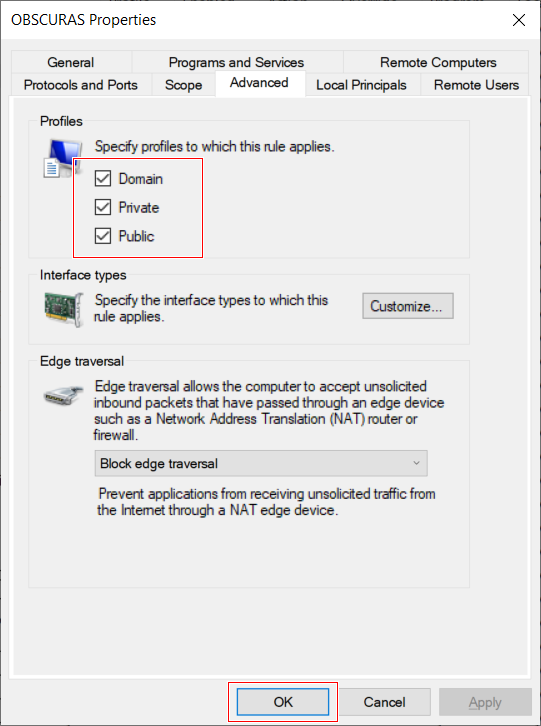
- Click the X in the upper right corner to close the dialog box.
