Cutting Device Registration Procedure
RasterLink7 can be used to send cut data directly to a supported cutting device. RasterLink7 allows a cutting device to be linked to a registered printer.
- Register the printer to be used. Printer registration procedure
- Turn on the cutting device to be used, then check that the RasterLinkPC is connected by USB cable or LAN cable.
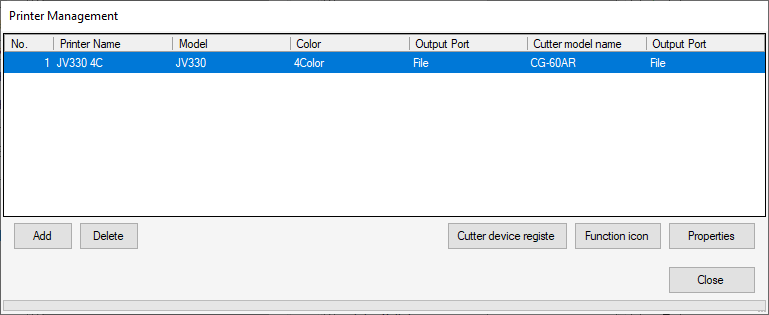
- From the RasterLink7 menu, click [Environments] - [Printer Management].
- Select the printer you intend to link with the cutting device, then click [Cutter device registe].
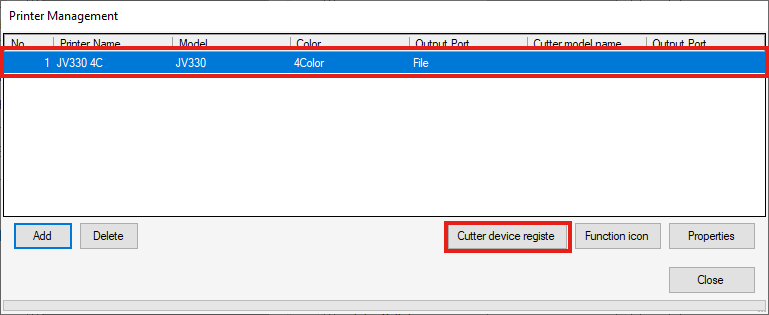
- The [Cutter device registe] window appears.
- Set the following items:
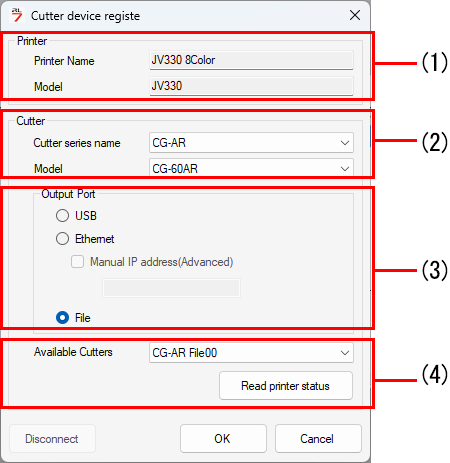

(1) | Printer | Information about the printer selected in [Printer Management]. | |
(2) | Cutting device | Selects the series and model of the cutting device to be linked to the printer. | |
(3) | Output Port | If the printer is connected to the PC using a USB cable, then select [USB]. If it is connected using a LAN cable, then select [Ether]. | |
(4) | Available cutting device | Lists the cutting device (cutting device name and serial number) connected using the method selected in [Output Port]. Select the device to be used. If the connected device is not displayed, click the [Read printer status] button. If the device is still not displayed even after clicking, check the following:
| |
- Click the [OK] button.
- The information is displayed for the linked cutting device on the [Printer Management] window.