Printer Driver Installation
This section describes how to install a printer driver.
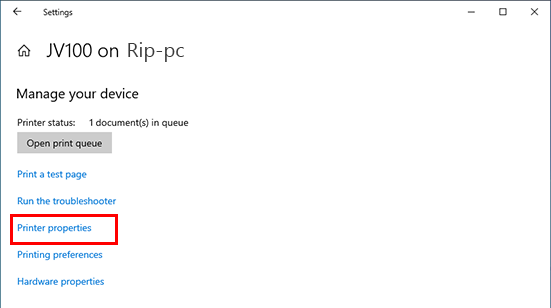
- From the [Start] menu, click [Settings].
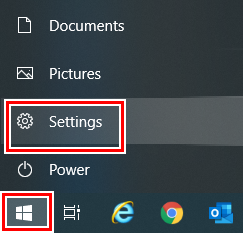
- Click [Devices].
![Windows [Settings] screen](https://d2w577gk9zpoty.cloudfront.net/themes/manual@mimaki/raster-link7/network_connection_guide/en-US/../Images/png/586873355__en-US__Web.png)

- For Windows 11
Click [Bluetooth & devices] in the left pane.
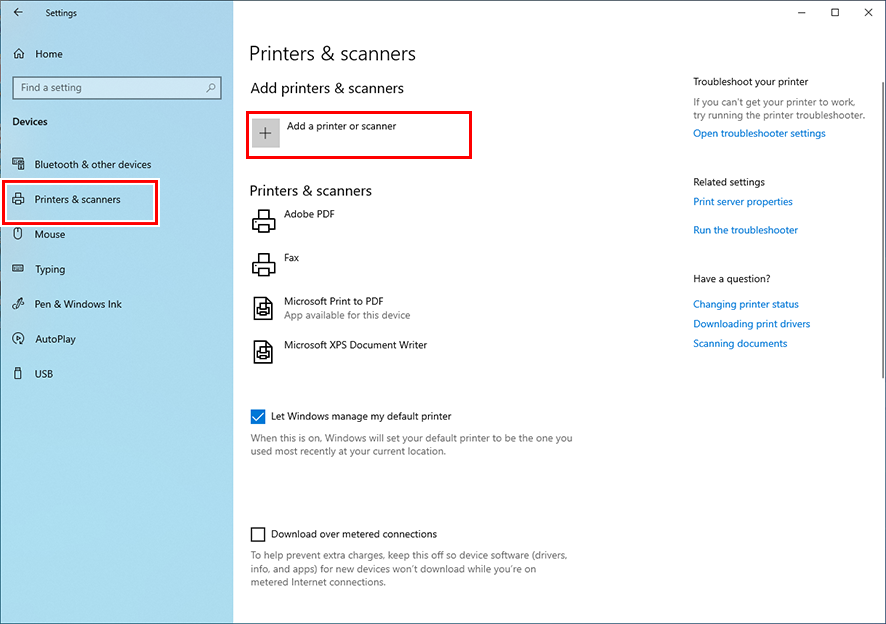
- Click [Printers & scanners].
- Click [Add a printer or scanner].
- For Windows 11
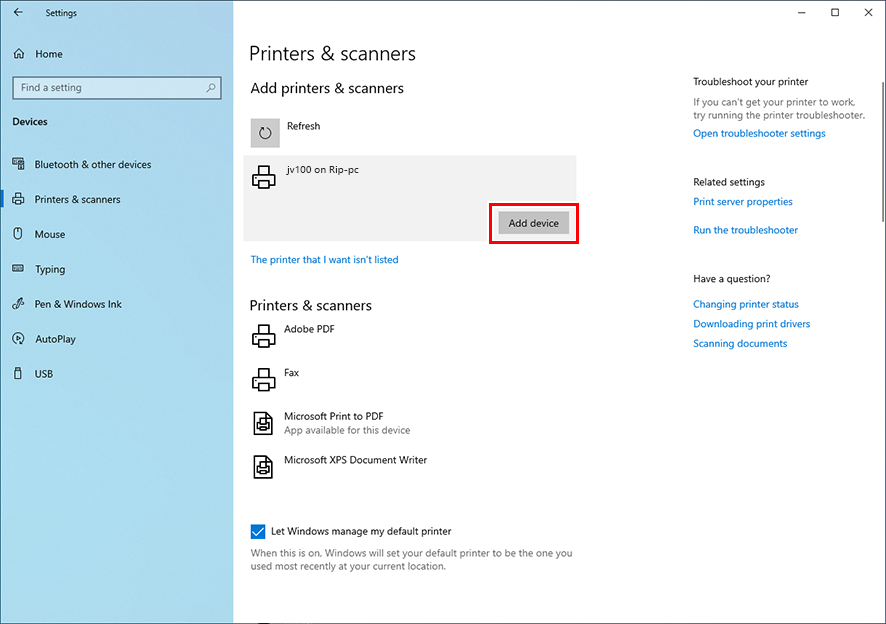
To the right of [Add a printer or scanner], click [Add device].
- Select the printer of the RasterLink PC you want to share, and then click [Add device].

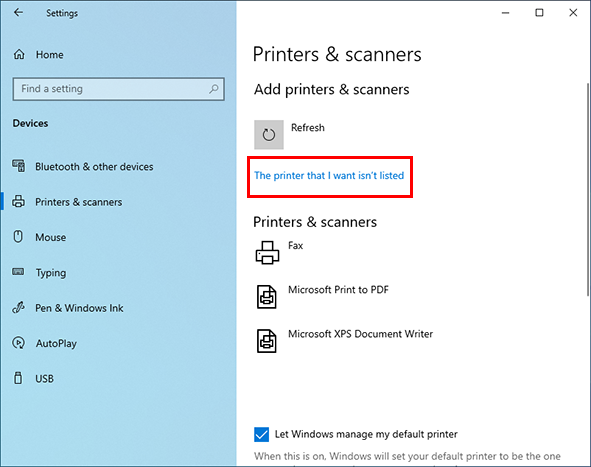
- If the printer does not appear in the list, click [The printer that I want isn't listed] or [Add manually] to the right of [The printer that I want isn't listed], then add the printer as described in Adding a Printer.
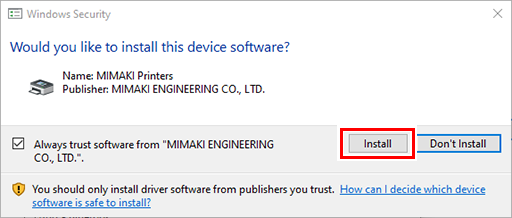
- Click [Install].
- Click [Next].
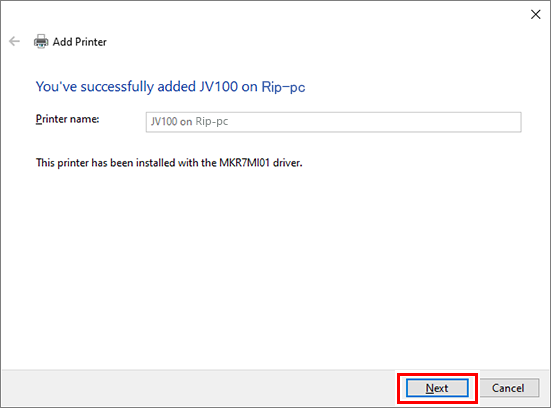
- Click [Finish].
- The printer is registered.
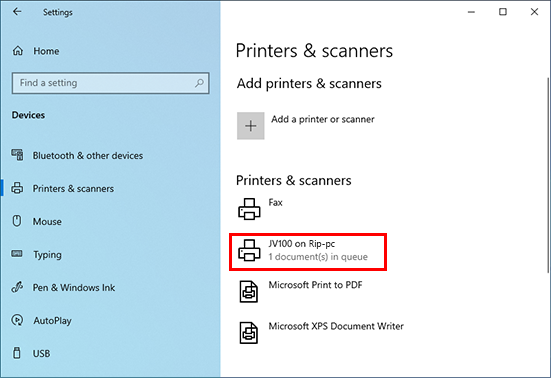
- Click the printer added in step 8.
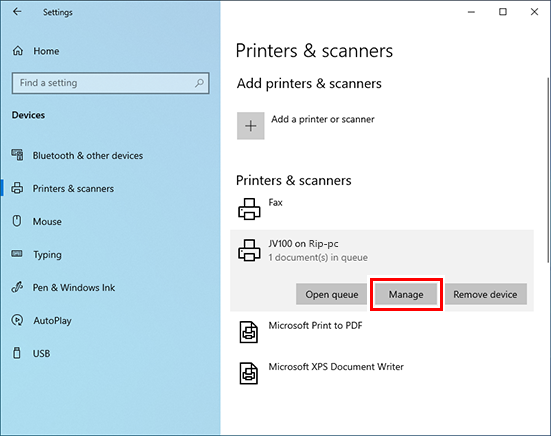
- Click [Manage].
- For Windows 11
Skip this step and go to the next step.
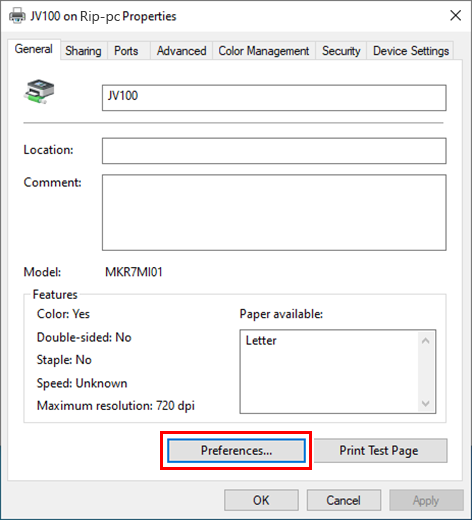
- Click [Printer properties].
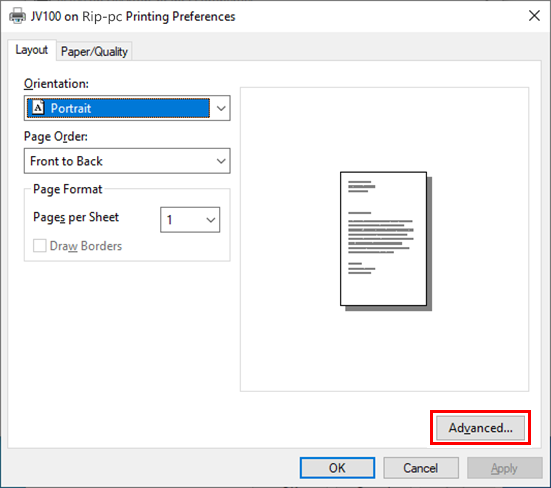
- Click [Preferences].
- Click [Advanced].
- For [TrueType Font], select [Download as Softfont].
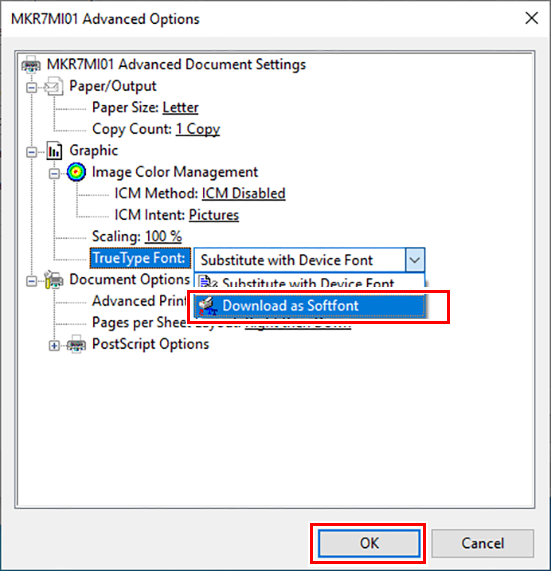
- Click [OK].