Arrange - Operations
Print multiple jobs all together.
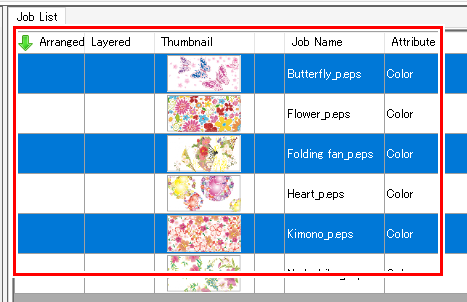
- Select multiple jobs.
- For more information on how to select multiple jobs, refer to Job Operations - Operations.
- Click [Arrange] in the [Function] menu or the function icon (
 ).
).
- Set Alignment Mode, Margin, and select or unselect the Arrange in the Center check box, then click [Arrange].
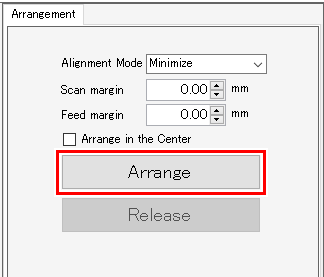
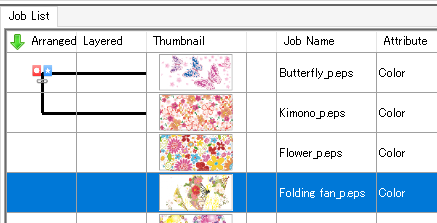
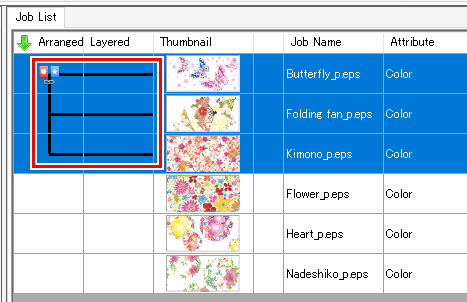
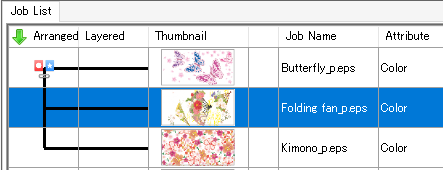
- The multiple jobs selected in Step 1 are arranged.
- Lines are displayed for [Arrange] on the [Job List] tab.
- Clicking the [
 ] icon displays a preview with the jobs arranged.
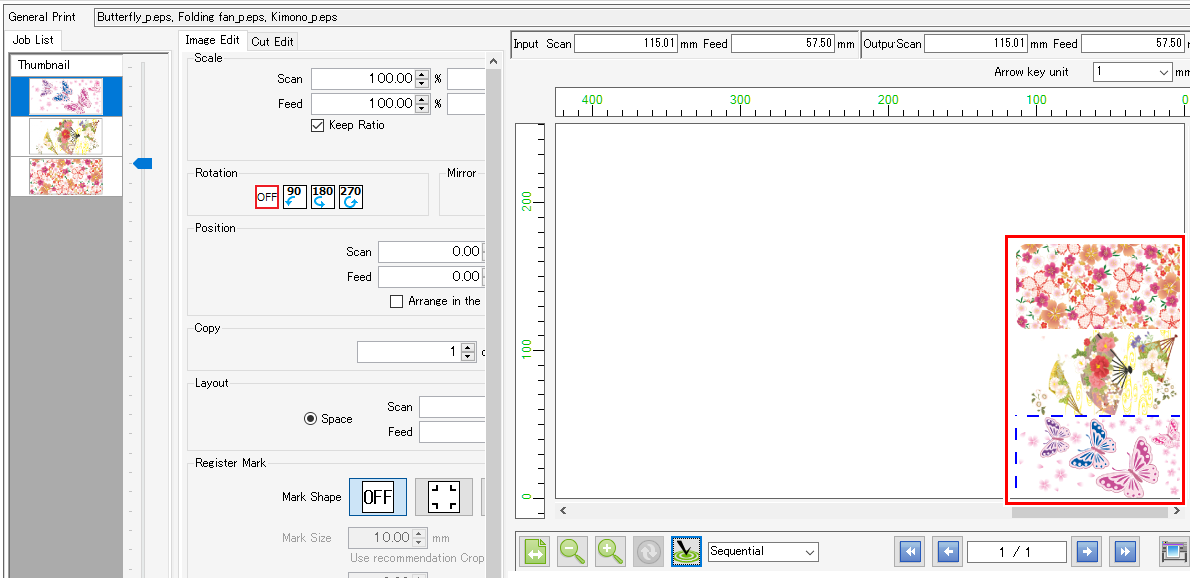
Clicking [Arrange] automatically aligns the multiple jobs selected using the specified alignment mode.
The following alignment modes are available:
- [Sequential]
- Jobs will be positioned sequentially in the media feed direction. Jobs may be rotated automatically when positioning to minimize length used.
The feed margins can be set.


- While it is possible to print multiple jobs sequentially by simply printing jobs in succession, a preset margin will be inserted by the printer between each job.
Sequential printing for arrangement allows the feed margin between each job to be set precisely. - It is also possible to arrange jobs for which the number of copies has been set in [General Print].
The margin settings in [General Print] will be overwritten by the margin settings in [Arrange].
- [Minimize]
- Jobs will be positioned to minimize the printing area. Jobs may be rotated automatically when positioning.
- [No rotation]
- Jobs will be positioned to minimize the printing area. The sequence in which the jobs are positioned will be altered automatically. The jobs will not be rotated automatically. The [Rotation] setting will be disabled on the [General Print] screen.
- [Minimize (Keep rotation)]
- Jobs will be positioned to minimize the printing area while maintaining the [Rotation] settings set on the [Print Condition] screen.

Arrange in the center of the media.
- Select the [Arrange in the Center] check box.
- Click [Arrange].
- The arranged jobs will be positioned at the horizontal center of the medium.
- When the alignment mode is [Sequential]:
- The rectangular border (dotted line in figure on left) surrounding all of the jobs is positioned at the horizontal center of the medium.

- When the alignment mode is [Minimize]:
- The arranged jobs will be positioned so that the center point coincides with the horizontal center of the medium.

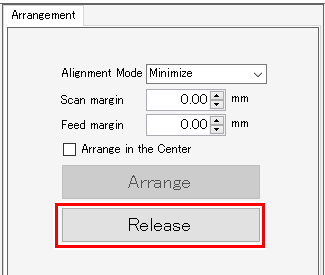
Cancel arrangement.
- Select the job(s) for which arrangement is to be canceled on the [Job List] screen. To cancel the arrangement for all jobs, select all the jobs.
- Click [Arrange] in the [Function] menu or the function icon ().
- Click [Release].
- The arrangement is canceled for the selected jobs.