- It may be pulled in a skewed direction during sheet feed or retraction, possibly due to the characteristics of the sheet causing it to lift. Please check the followings.
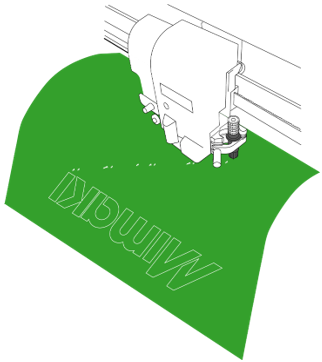
1. Check the cutting blade protrusion. Perform [SQUARE CUT] and verify.
[How to operate [SQUARE CUT] (test cutting)]
Press FUNCTION key > select [SQUARE CUT] > Press ENTER.
The amount of blade extension should be around = (label film thickness + mounting paper thickness)/2
Reference value: 0.2 to 0.5mm

2. Check the set position of the pinch rollers.
The Sheet is held by the pinch roller from above and the grit roller from below. If the pinch roller's set position is misaligned and cannot firmly hold the sheet, the sheet may be pulled in a skewed direction, causing it to lift. Make sure the pinch rollers are set in the correct position.
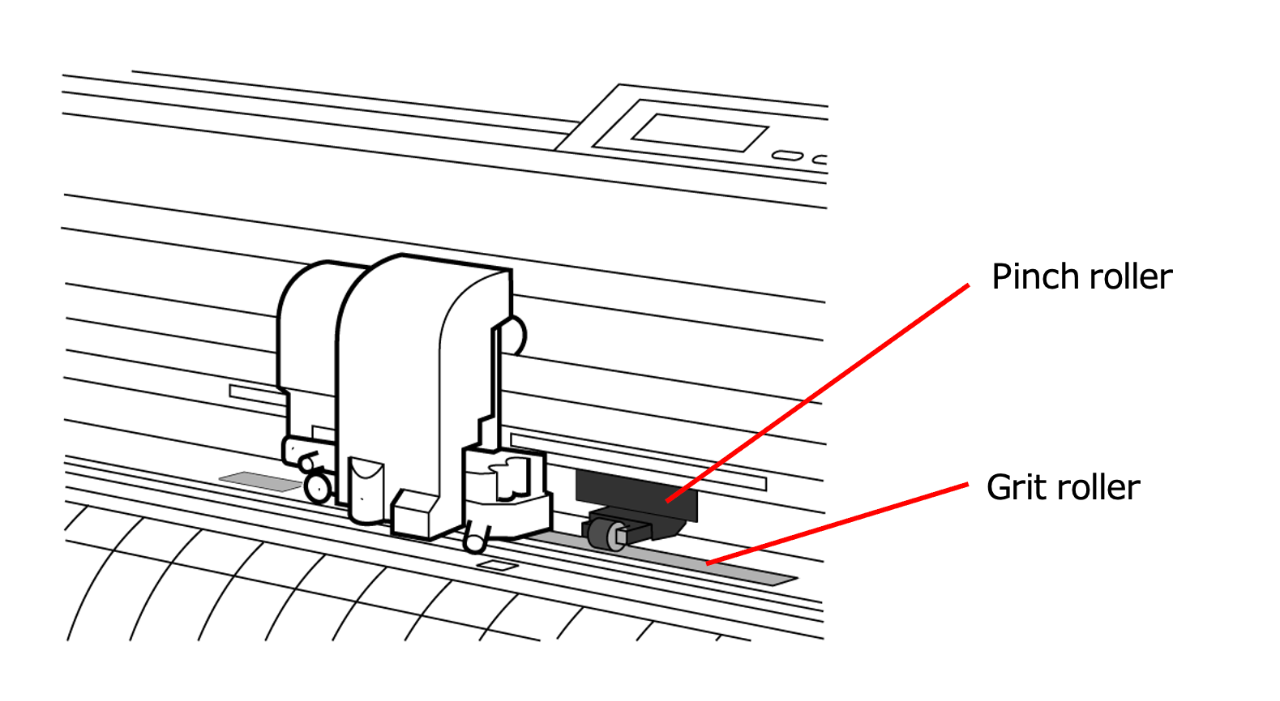
There is a "PINCH ROLLER SETTINGS" mark on the grit roller.
Ensure that the pinch roller is positioned within the marked area.

3. Check the clamp force.
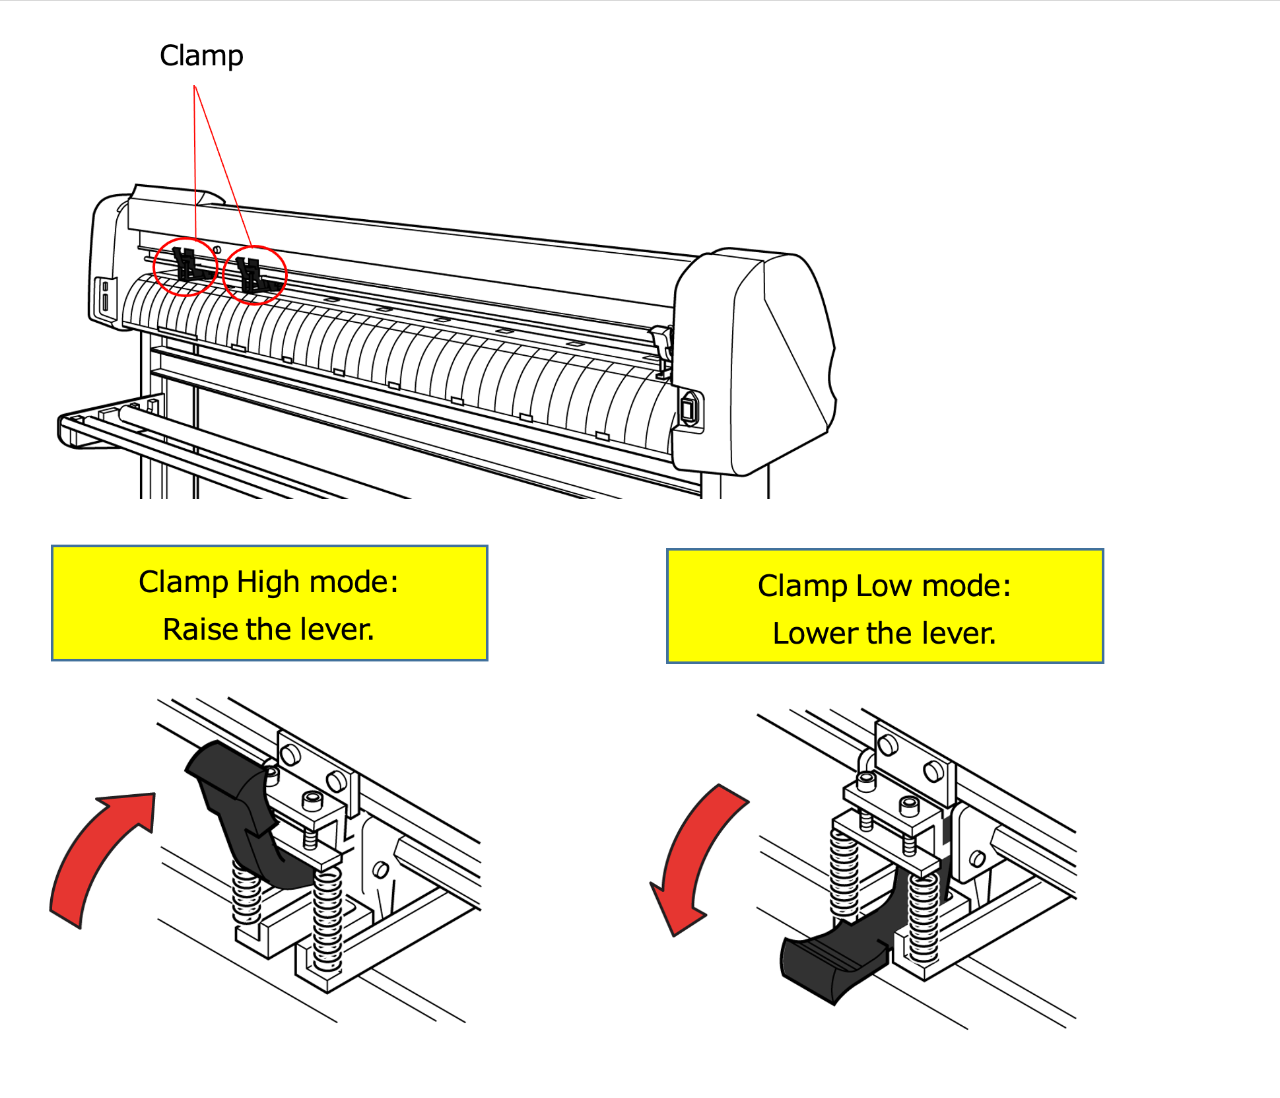
Check the clamping force mode located at the back of the plotter, behind the pinch roller.
Set the clamp force to the high mode.
However, if there are noticeable marks from the pinch roller, set the clamping force to the “low” mode for the middle pinch roller only.
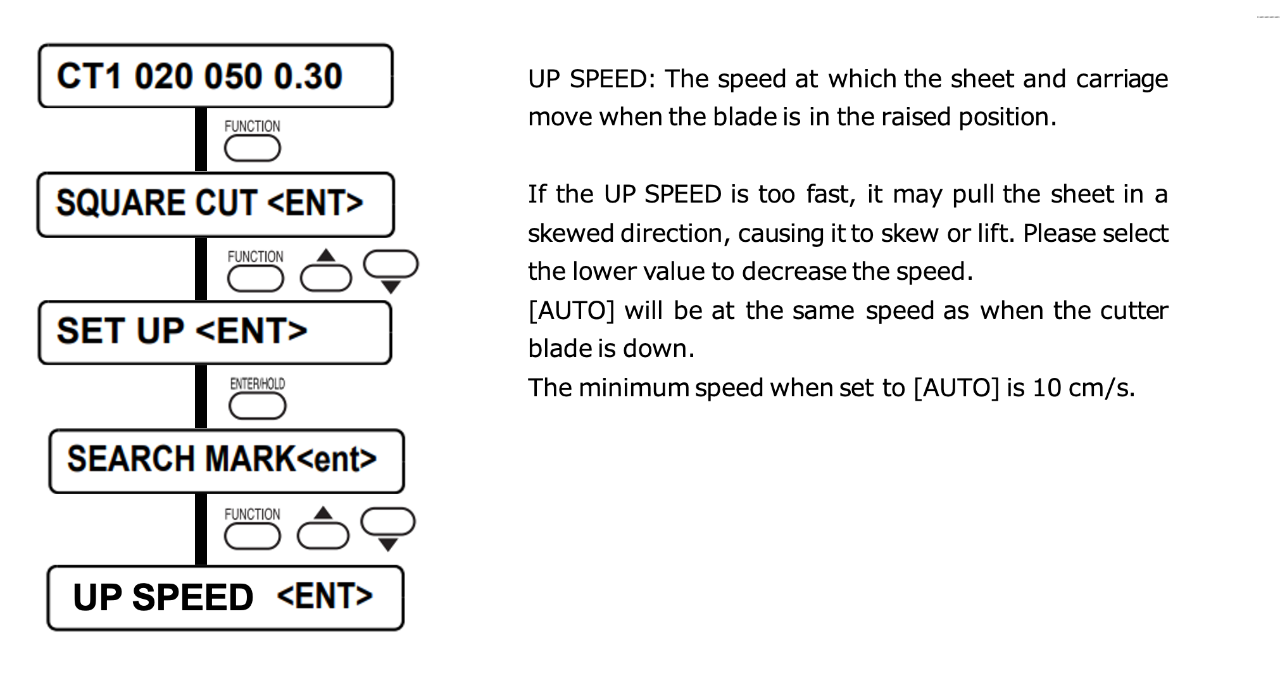
4. Check the value of [UP SPEED].
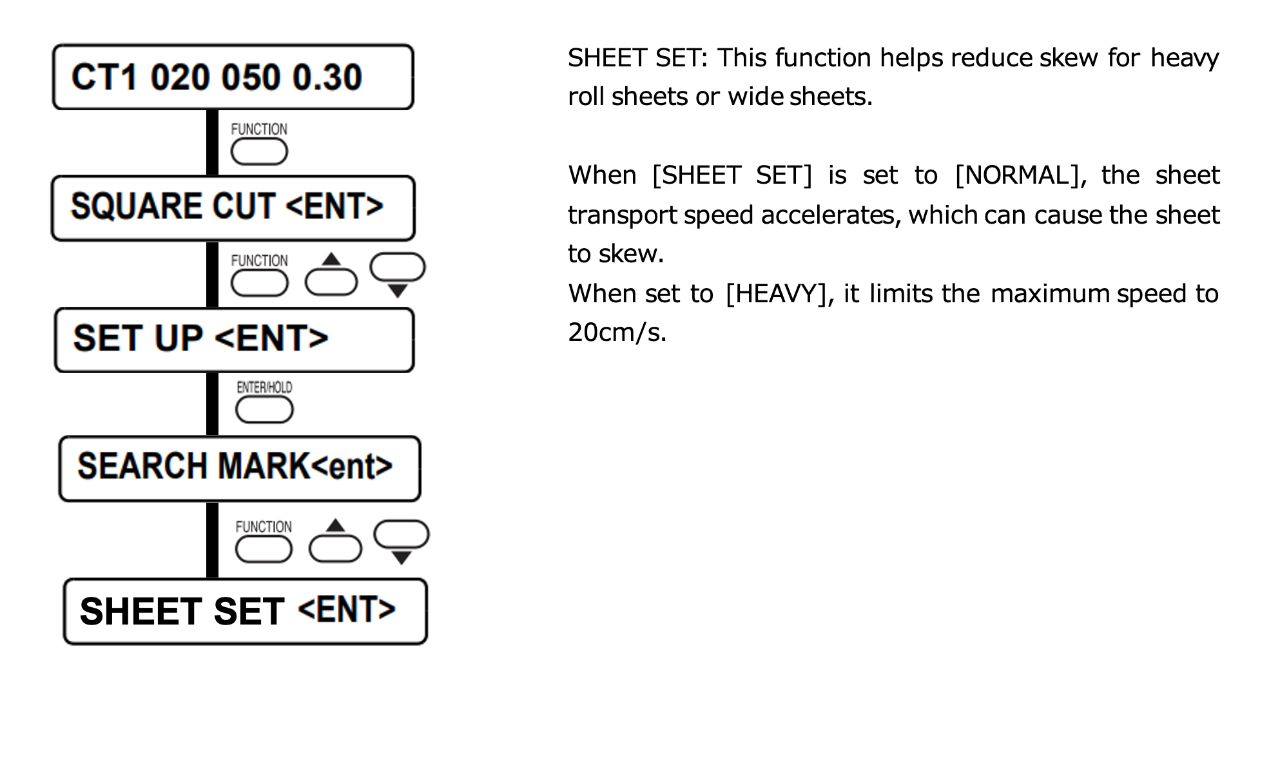
5. Check the [SHEET SET].
6. Attach the included cutter guard.
* Please note that the cutter guard is not included depending on the purchase date.
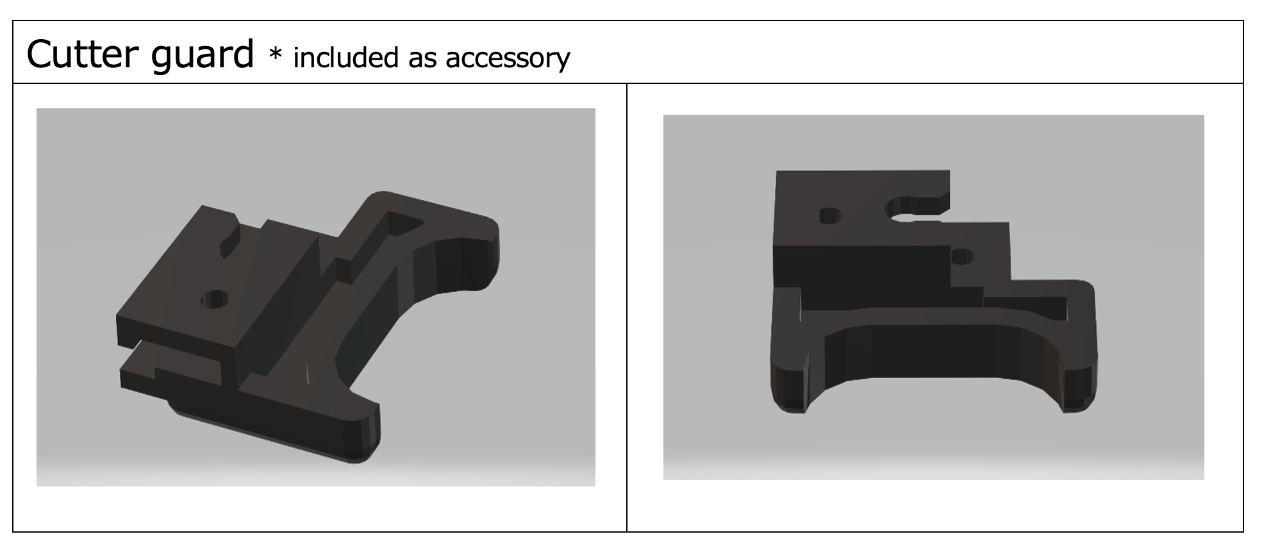
Please refer to the “Procedure manual for the attachment of the cutter guard” for installation instructions.
