This document describes how to recognize and read FineCut CD-ROM on macOS Sierra (10.12).
1. Insert FineCut CD-ROM into CD-ROM drive.
2. Open Finder and start [Disc Utility] by following directions below.
[Application] > [Utilities] > [Disk Utilities]
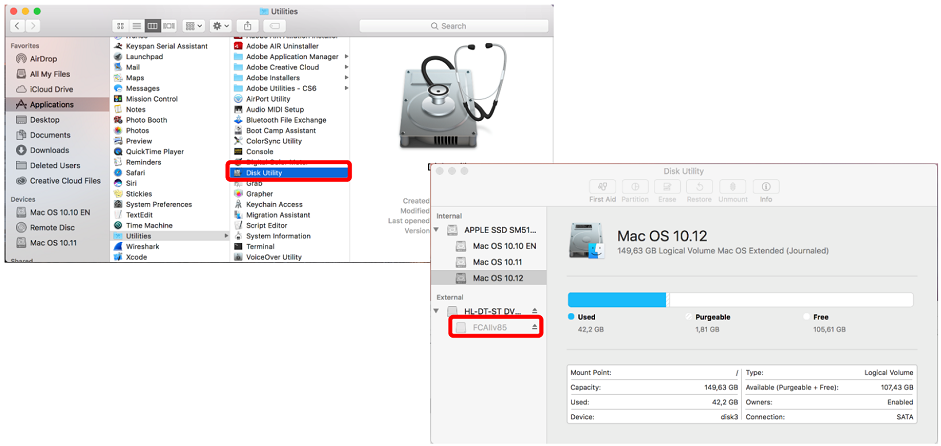
3. Select grayed out FineCut CD-ROM (“FC******”), and open [Contextual Menu] by holding down [Control] key while clicking the mouse, then select [Image from “FCxxxxxxxx”] to save the image on the desktop.
*Please do not select the drive displayed above the FineCut 8 CD-ROM ("FC ******"). If you select it and create an image file, the file cannot be mounted correctly.

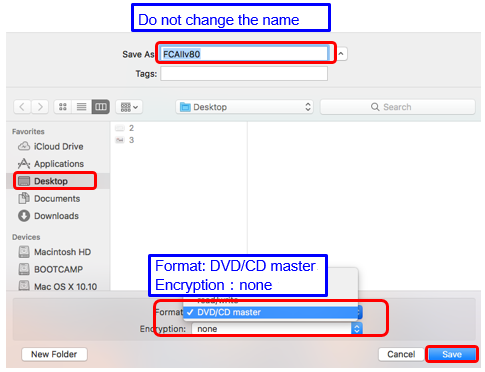
4. Select [Desktop] as the storage place. After selecting [DVD / CD master] in the format, click the [Save] button.
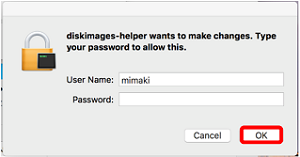
5. The dialog box is displayed. Enter User Name and Password and press [OK]
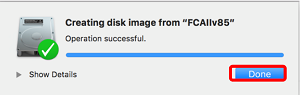
6. Press [Done] when the disk image creation is completed.
7. Make sure that the image file is created on the desk top and double click the image to mount.

FineCut CD-ROM is recognized on mac OS Sierra.
Follow the next procedures to install the upgraded version.
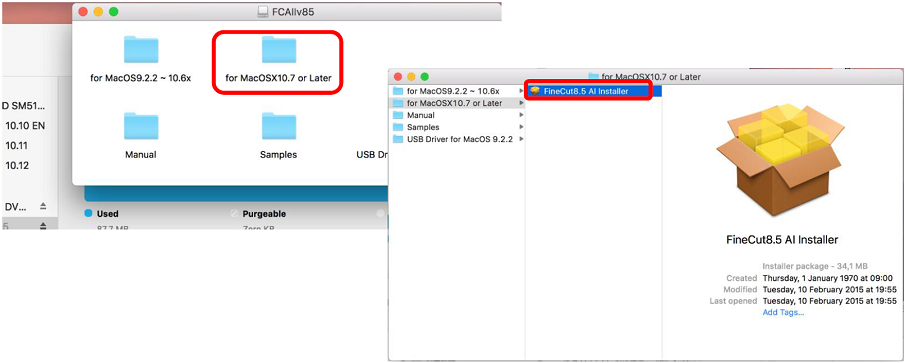
8. Open the folder, [for MacOSX10.7 or Later], to start FineCut installer. The installing should be done without any problems.